 Ban & Monetization Policy
 MyLiveRoom Rewards Program Rules & Eligibility
How Timeline Editing Works: Beginner Guide
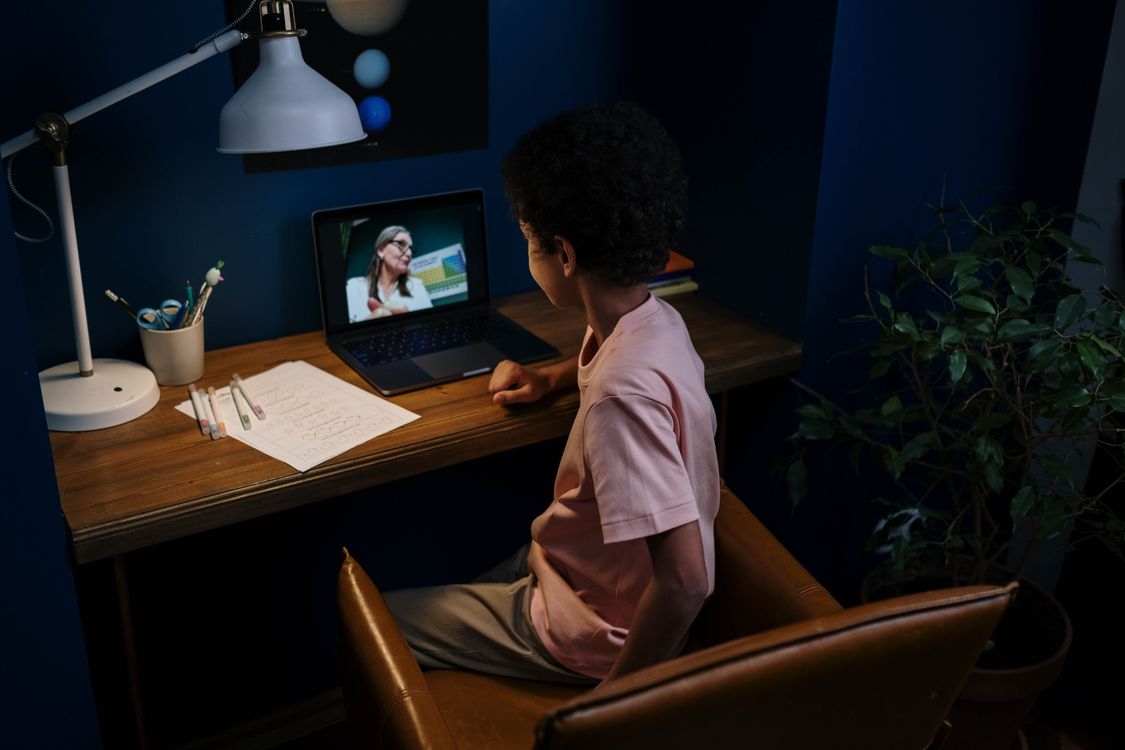
Video editing may seem difficult at first, but understanding the timeline makes the entire process much easier. Whether you're creating YouTube videos, social media content, tutorials, or business presentations, the timeline is the workspace where your project comes together. Learning how timeline editing works gives you better control over your videos and helps you produce polished results with confidence.
What Is Timeline Editing?
Timeline editing is the process of arranging video clips, audio, images, text, and effects in chronological order within a video editing program. The timeline represents the flow of your video from beginning to end. Everything you add to your project appears on the timeline, allowing you to edit each element precisely.
Think of the timeline as a digital storyboard where every second of your video can be adjusted, improved, or reorganized.
Understanding the Main Parts of a Timeline
Before you start editing, it's important to know the basic components of a timeline.
Playhead
The playhead is the vertical line that moves across the timeline as your video plays. It shows exactly where you are in the project and allows you to preview your edits.
Tracks
A timeline contains multiple tracks, each serving a different purpose. These may include:
Video tracks
Audio tracks
Text layers
Images
Titles
Graphics
Effects
Using separate tracks helps keep your project organized while making it easier to edit individual elements.
Clips
Clips are the building blocks of your project. They can be videos, audio recordings, photos, or graphics. You simply drag and drop clips onto the timeline and arrange them in the desired order.
How Timeline Editing Works
Timeline editing follows a straightforward workflow.
Step 1: Import Your Media
Begin by importing all the files you'll need, including videos, images, music, voiceovers, and sound effects.
Step 2: Arrange Your Clips
Drag your clips onto the main video track and place them in the sequence you want viewers to see.
Step 3: Trim Unwanted Sections
Most raw footage contains unnecessary moments. Trim the beginning or end of clips to remove mistakes, pauses, or unwanted scenes.
Step 4: Split Clips
Use the split or razor tool to divide a clip into smaller sections. This makes it easy to remove parts or insert new footage between scenes.
Step 5: Add Additional Layers
Place images, logos, text, or B-roll footage on higher tracks while keeping your main video on the primary track.
Step 6: Edit Audio
Adjust volume levels, remove background noise, add music, and synchronize voiceovers with your video.
Step 7: Add Transitions
Transitions create smooth movement between clips. Simple fades and dissolves often provide a professional look without distracting viewers.
Step 8: Add Titles and Captions
Include opening titles, subtitles, lower thirds, or closing credits to improve communication and accessibility.
Step 9: Preview Your Project
Watch your video several times to identify timing issues, awkward cuts, or audio problems before exporting.
Step 10: Export Your Video
Once everything looks good, export the project using the desired resolution and format for your intended platform.
Benefits of Timeline Editing
Understanding timeline editing offers several advantages.
Better Organization
Keeping clips arranged on separate tracks makes projects easier to manage.
Precise Editing
You can edit individual frames, ensuring accurate cuts and smooth timing.
Flexible Workflow
If you change your mind, you can easily move clips, replace footage, or adjust effects without starting over.
Improved Storytelling
The timeline helps you organize scenes logically, making your content more engaging and easier to follow.
Professional Results
Clean edits, balanced audio, and properly timed transitions all contribute to higher-quality videos.
Common Uses of Timeline Editing
Timeline editing is useful for many types of video projects, including:
YouTube videos
Social media reels
Educational tutorials
Product demonstrations
Business presentations
Marketing videos
Family memories
Travel vlogs
Online courses
Event highlights
No matter the project, the timeline serves as the central workspace where every creative decision is made.
Helpful Tips for Beginners
If you're just getting started, these simple practices can make editing easier.
Keep your media files organized before importing them.
Name your tracks clearly for quick identification.
Start with basic cuts before adding advanced effects.
Use keyboard shortcuts to speed up editing.
Save your project frequently.
Zoom into the timeline when making precise edits.
Watch your video from beginning to end before exporting.
Developing these habits early will make future editing projects much smoother.
Common Mistakes to Avoid
Many beginners make similar mistakes when learning timeline editing.
Using Too Many Effects
Overloading videos with flashy transitions or animations can distract viewers. Simple edits often look more professional.
Ignoring Audio
Poor sound quality can reduce the overall impact of a video. Always balance music and dialogue carefully.
Disorganized Timeline
Placing clips randomly across multiple tracks creates confusion. Keep your timeline clean and structured.
Skipping Preview
Always review your project before exporting to catch mistakes that may have been missed during editing.
Forgetting to Save
Video editing projects can become large and time-consuming. Saving regularly prevents losing valuable work.
Building Confidence with Practice
Timeline editing becomes easier with experience. Start by editing short videos, practicing basic cuts, arranging clips, adding music, and experimenting with titles. As your skills improve, you can explore advanced features like keyframes, color correction, motion graphics, and multi-camera editing.
The more projects you complete, the faster and more confident you'll become.
Conclusion
Timeline editing is the foundation of modern video production. It allows you to organize clips, refine your story, synchronize audio, and add creative elements that bring your vision to life. While the interface may appear overwhelming at first, mastering the basics makes video editing far more approachable.
With regular practice and a clear understanding of how the timeline works, beginners can quickly create polished, engaging videos for personal, educational, or professional use. Every successful edit starts on the timeline, making it one of the most valuable skills any video creator can learn.
© 2026 Myliveroom — Live Events & Online Communities
 Russian
Russian
 English
 Arabic
 French
 Spanish
 Portuguese
 Deutsch
 Turkish
 Dutch
Dutch
 Italiano
 Romaian
 Portuguese (Brazil)
 Greek
Greek